Add Widget
You have opened the board to which you want to add a widget in edit mode, see Create Board or Edit Board.
-
Click .
-
Click the plus icon on the widget you want to add.
-
Edit at least the mandatory fields of the widget. For detailed information about the settings, see the General Information chapter.
-
Click Save.
-
Adjust the size of the widget:
-
Place the cursor on the bottom right corner in the widget:
-
Click on the frame icon and hold down the mouse button.
-
Now drag the widget to the required size. Note: Changes are only possible in accordance with the grid specifications
-
Release the mouse button.
You have adjusted the widget size.
-
-
Position the widget:
-
Place the cursor on the widget so that the cursor is displayed as a cross.
-
Click on the widget and hold down the mouse button.
-
Now drag the widget to the desired position. Note: Changes are only possible in accordance with the grid specifications. The shadow shows the future position. The widget is placed vertically at the highest possible position without moving other widgets.
-
Release the mouse button.
You have positioned the widget.
-
-
Click .
The list of available widgets appears on the right.
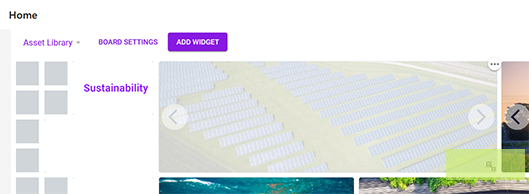
The widget is added to the left side of the board. The settings of the widget are displayed on the right.
You have added a widget to the board.
To position a widget directly when inserting it, place the cursor on the drag point to the left of the widget in the widget list. Drag-and-drop the widget onto the board to the desired location. Then adjust the size and edit the settings of the widget.